
240sx rebuild/refresh thread

 06-15-2010, 07:23 AM
#53
Stuff n Stuff
Join Date: May 2004
Location: RVizzle
Posts: 1,920
Likes: 0
Received 0 Likes
on
0 Posts


Does that company care to deal with multi piece wheels? My veilsides' barrels and lips have minor curb rash/ slight bends, and one of them is taco'd pretty good. Was told by a company in CA it could be straightened, but shipping is a bitch and I'm lazy. Might try fixing my wheels, I think I could get more for em if I sell anyway.
01-13-2011, 05:59 AM
#55
Blang Blang
Thread Starter
Join Date: Jun 2004
Location: va beach bitches
Posts: 7,610
Likes: 0
Received 0 Likes
on
0 Posts
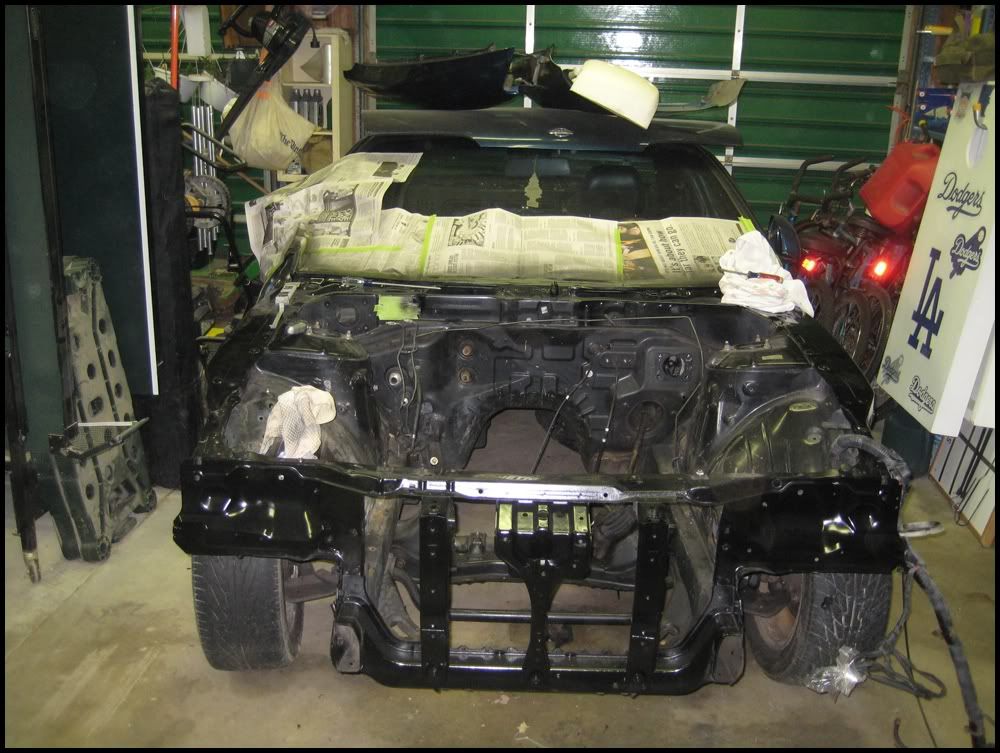
So old thread is old. Im not sure why I didnt update this as i went but I am going to now.
Since I posted in this thread I have removed/sold the KA that was in it.
Pic right after it was pulled
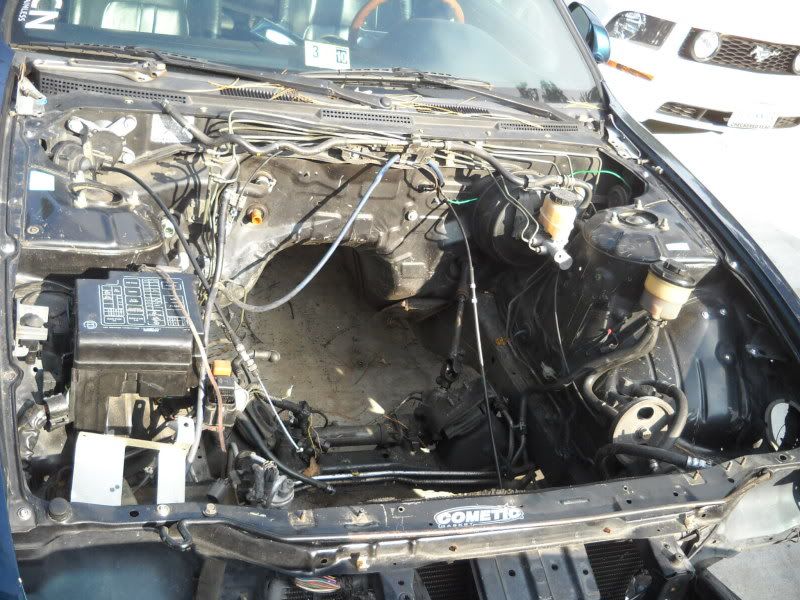
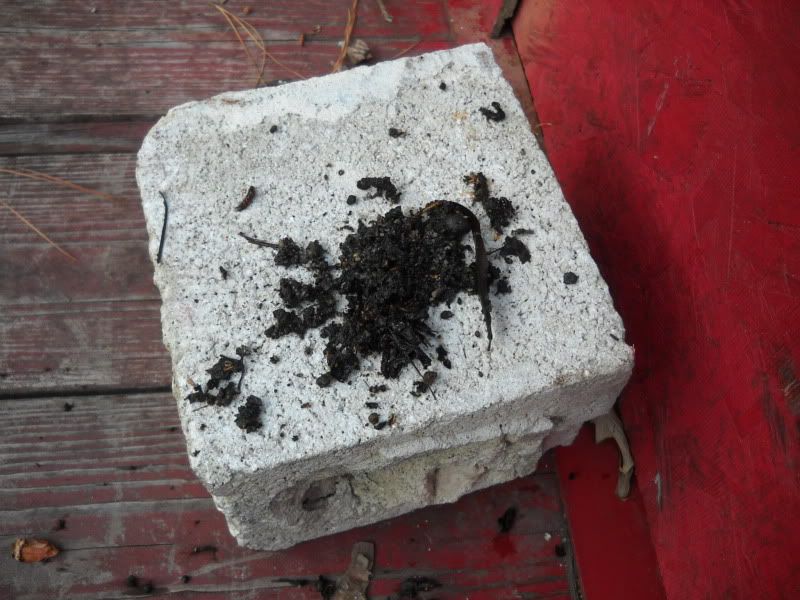
I also began taking everything out of the engine bay in preparation for paint. I went ahead and pulled the cowl cover off to make removing the wiper motor an easier task and pulled about a pound or so of this nonsense from that whole area. tasty
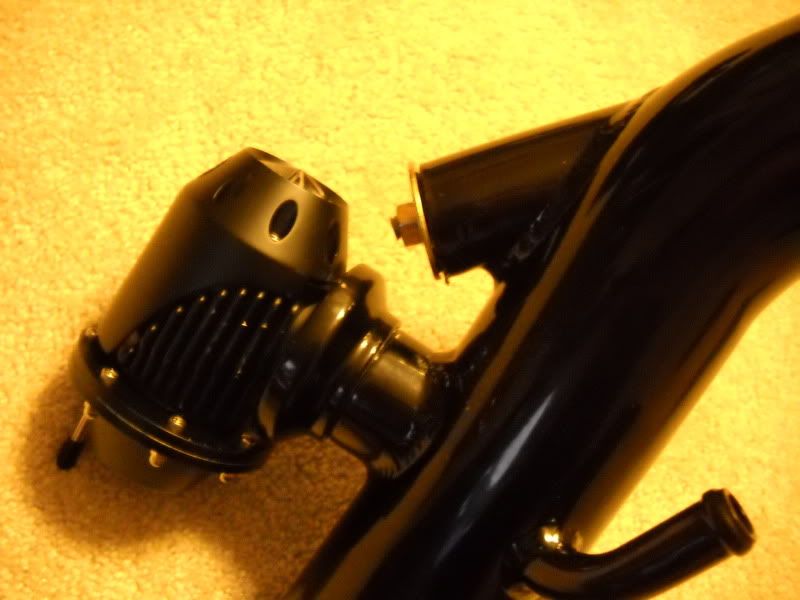
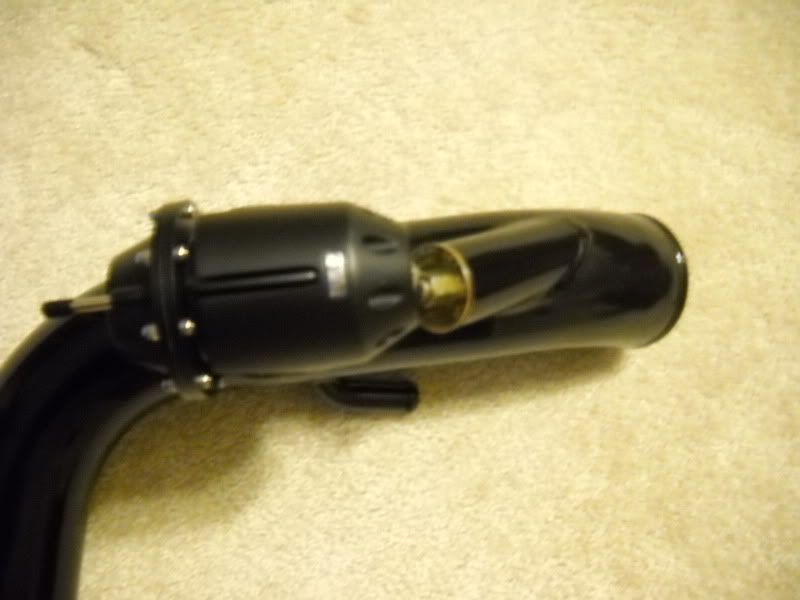
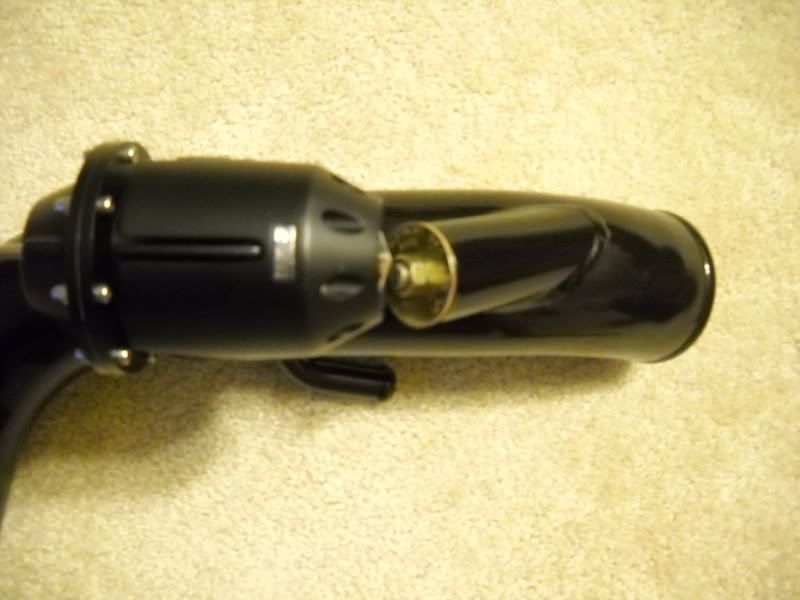
I also had Shawn over at Rameybuilt weld on my BOV flange onto my cold pipe and chop the pipe where the factory valve mounts. Brian over at SAGE auto then powdercoated all of my piping and I mounted my BOV up.
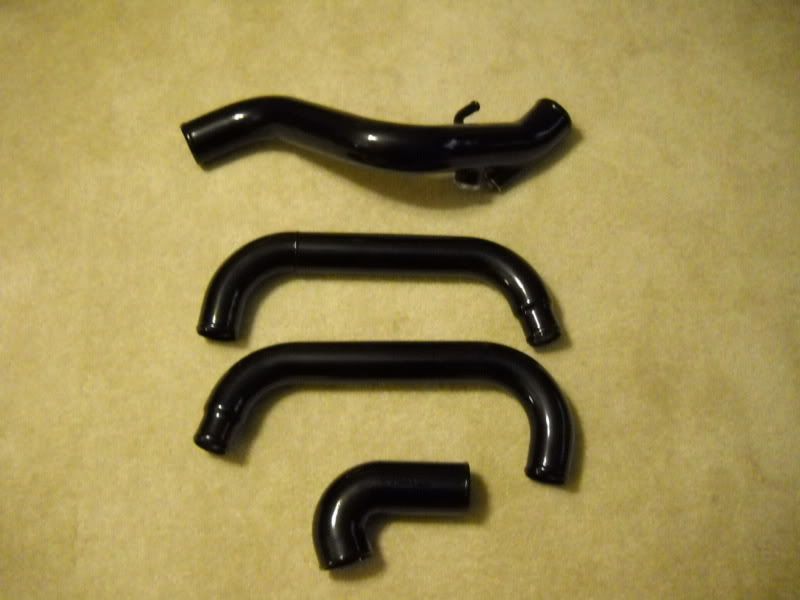
In the mean time I have been gathering parts here and there.
Pictured below: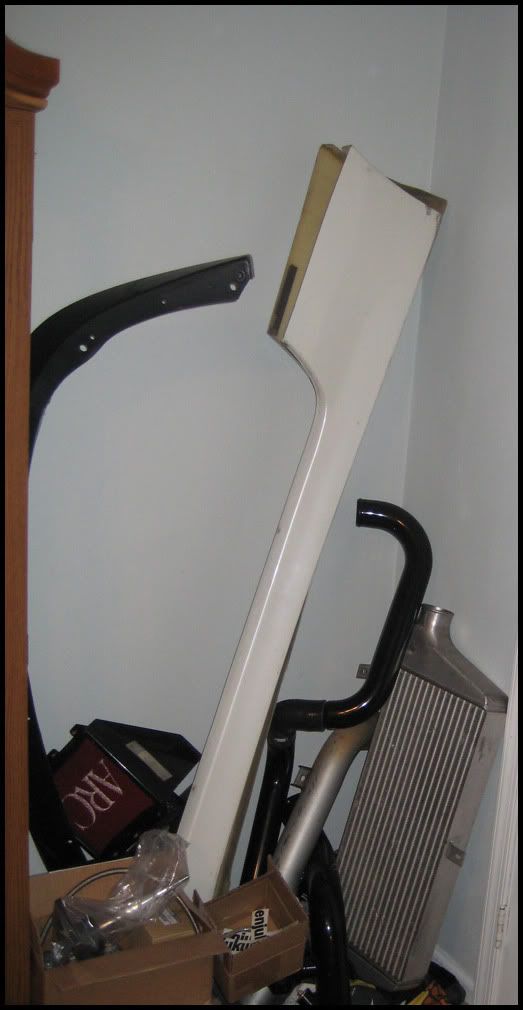
Since I posted in this thread I have removed/sold the KA that was in it.
Pic right after it was pulled
I also began taking everything out of the engine bay in preparation for paint. I went ahead and pulled the cowl cover off to make removing the wiper motor an easier task and pulled about a pound or so of this nonsense from that whole area. tasty
I also had Shawn over at Rameybuilt weld on my BOV flange onto my cold pipe and chop the pipe where the factory valve mounts. Brian over at SAGE auto then powdercoated all of my piping and I mounted my BOV up.
In the mean time I have been gathering parts here and there.
Pictured below:
- Trust sideskirts
- Trust rear valences
- Greddy front lip (previously had on the car)
- Isis short throw shifter
- Isis high PSI power steering line
- Nissan S14 SR20DET water pump
- All exhaust gaskets
- Greddy FMIC with Samco couplers
- HKS SSQV special black edition
- HKS downpipe
- ARC air induction box
- Agency power braided clutch line
01-13-2011, 06:18 AM
#58
Blang Blang
Thread Starter
Join Date: Jun 2004
Location: va beach bitches
Posts: 7,610
Likes: 0
Received 0 Likes
on
0 Posts
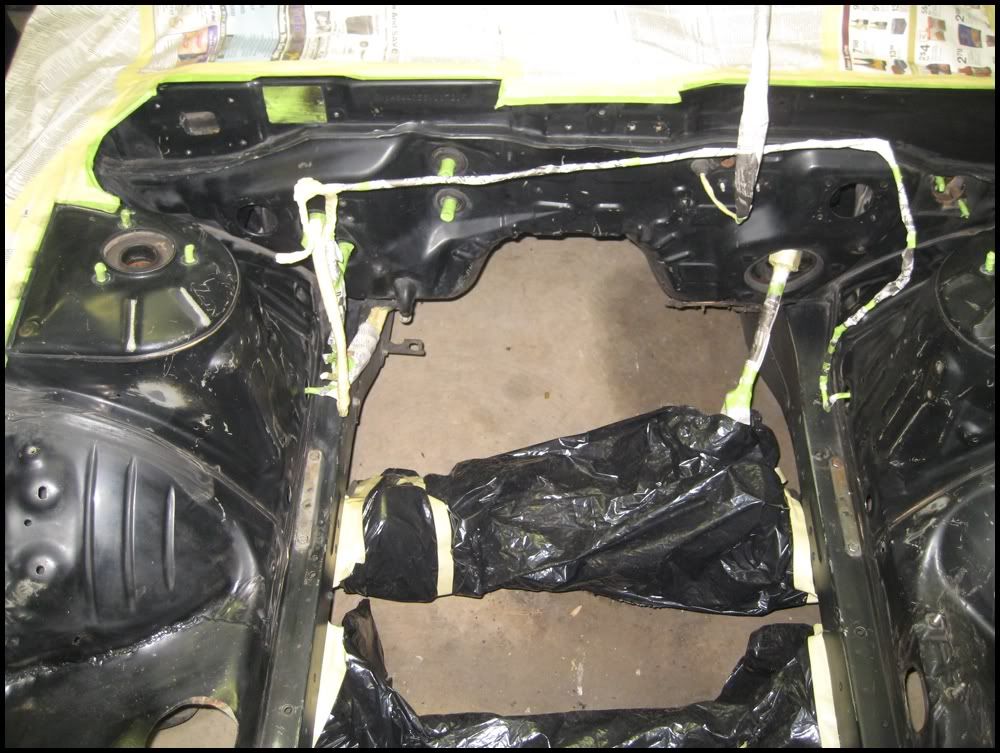
Last night we tackled the engine bay. The car is now in its new home in my dad's garage so working in the winter wont be an issue thanks to his woodstove 
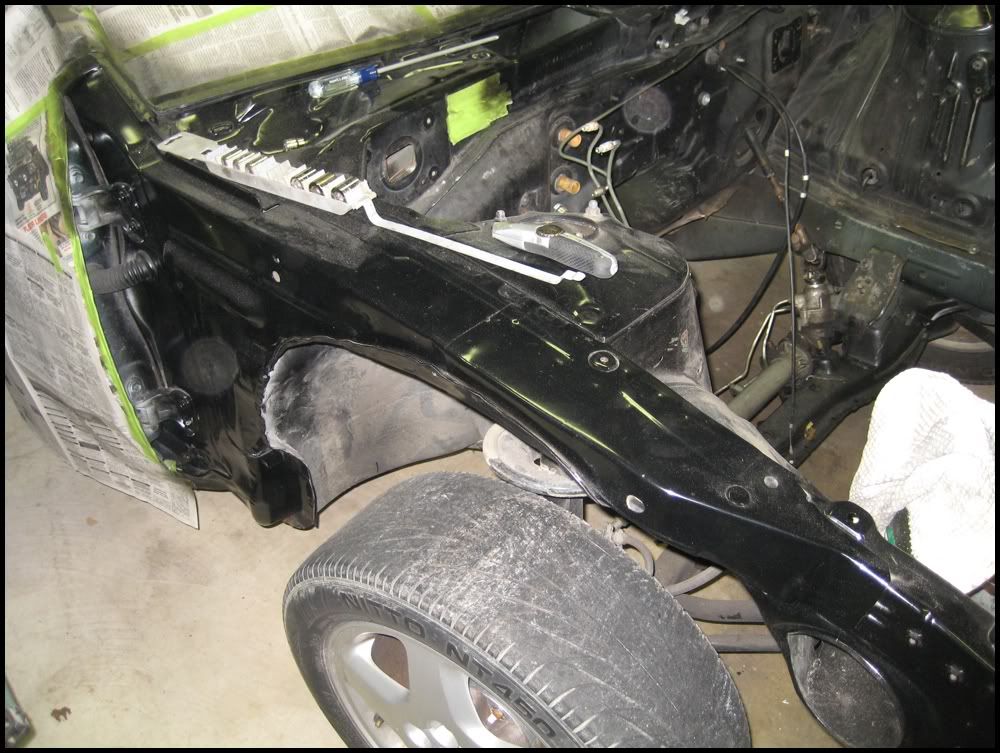
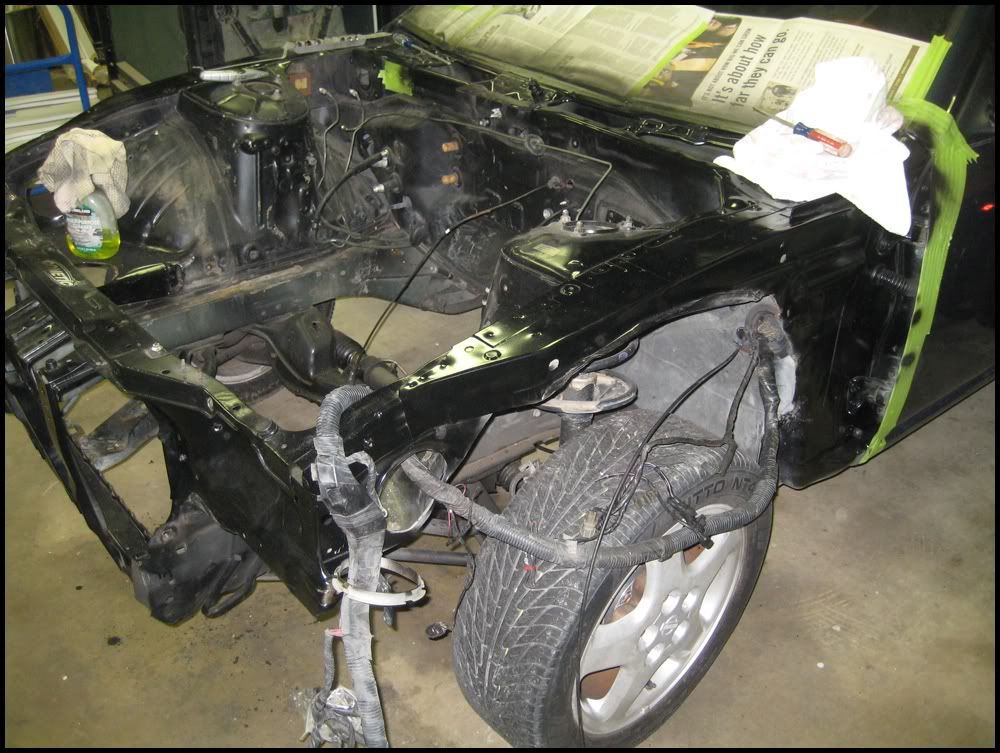
previously I had finished cleaning out the engine bay of everything (brake master cylinder, clutch master cylinder, fuse box, etc.....) and went ahead and painted the bumper support, headlight mounting bracket, the areas underneath the fenders, and the cowl. There was some surface rust here and there in those areas so they were prepped, cleaned, and painted with VHT epoxy black paint.
For the engine bay I used the following:
Supplies: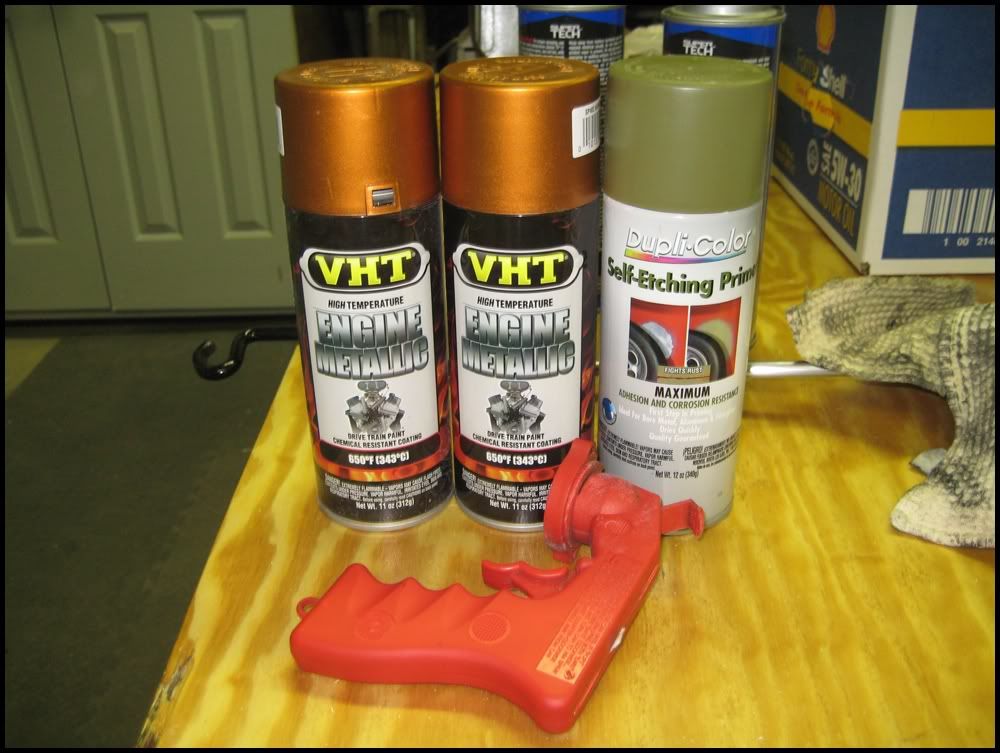
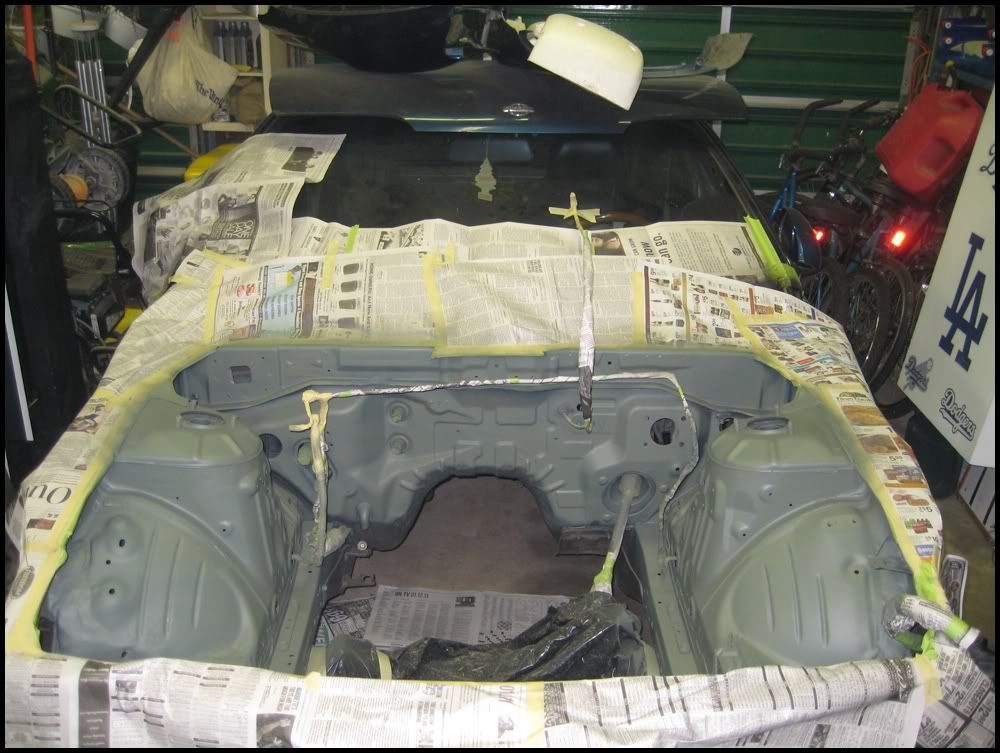
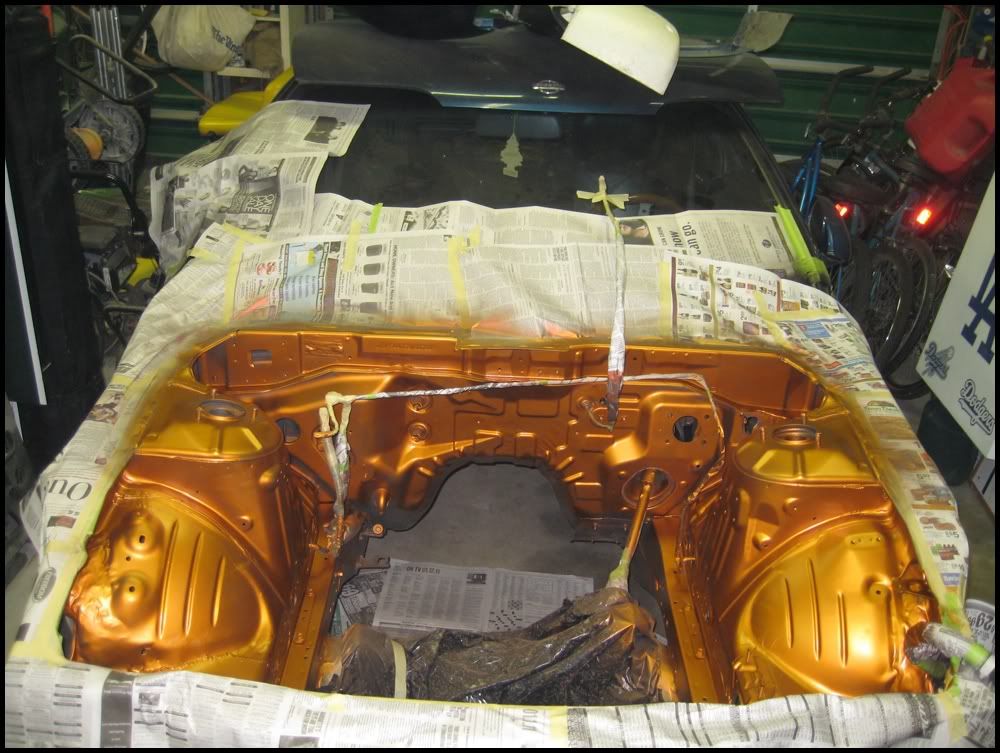
I started with cleaning up any areas in the engine bay that had any surface rust with a wire wheel and/or scotchbrite and then the grueling process of taping began (fun fun).
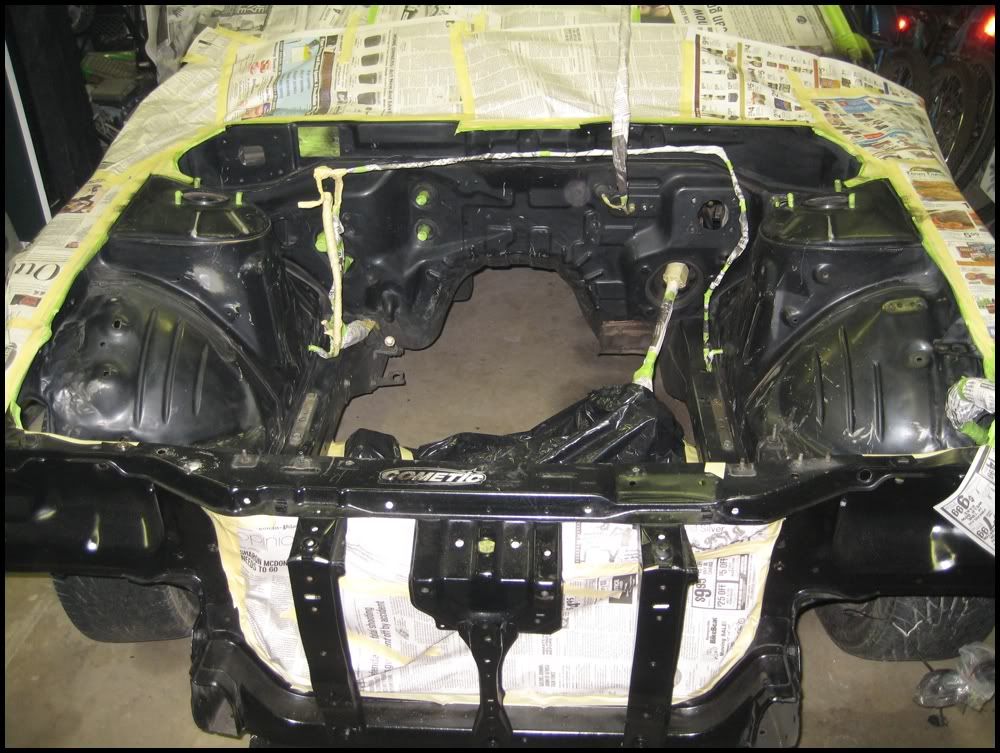
Once everything was taped up/covered I scuffed the entire bay up, blew it clean, then wiped everything down with acetone. Then I threw down a coat of primer. I was really happy with how easily this covered and how quickly it dried.
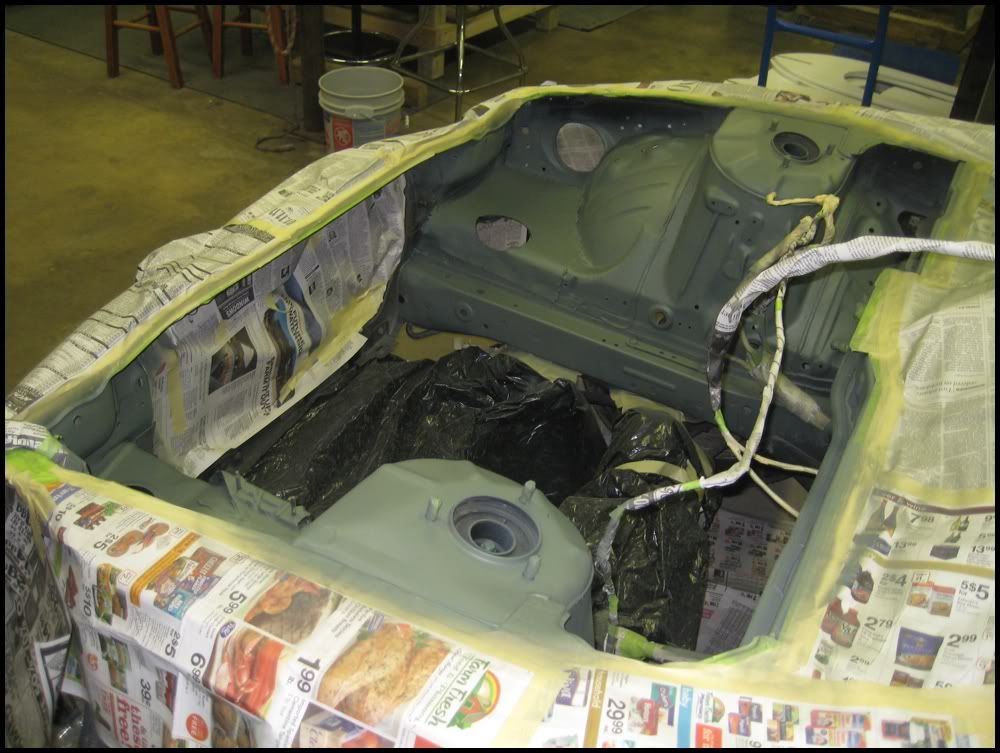
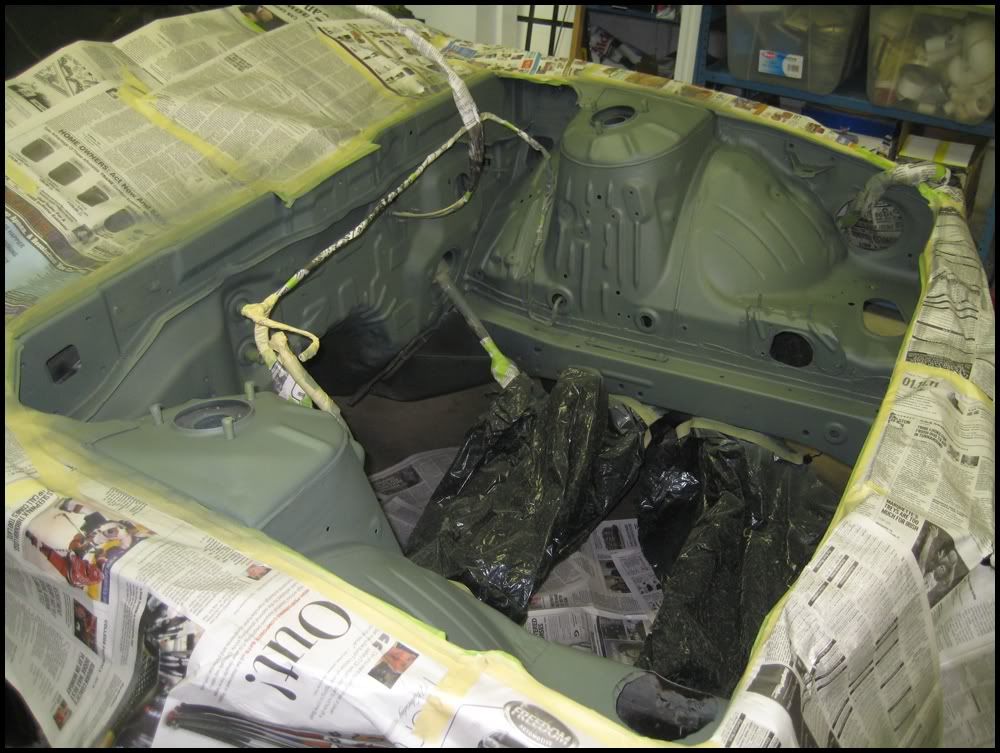
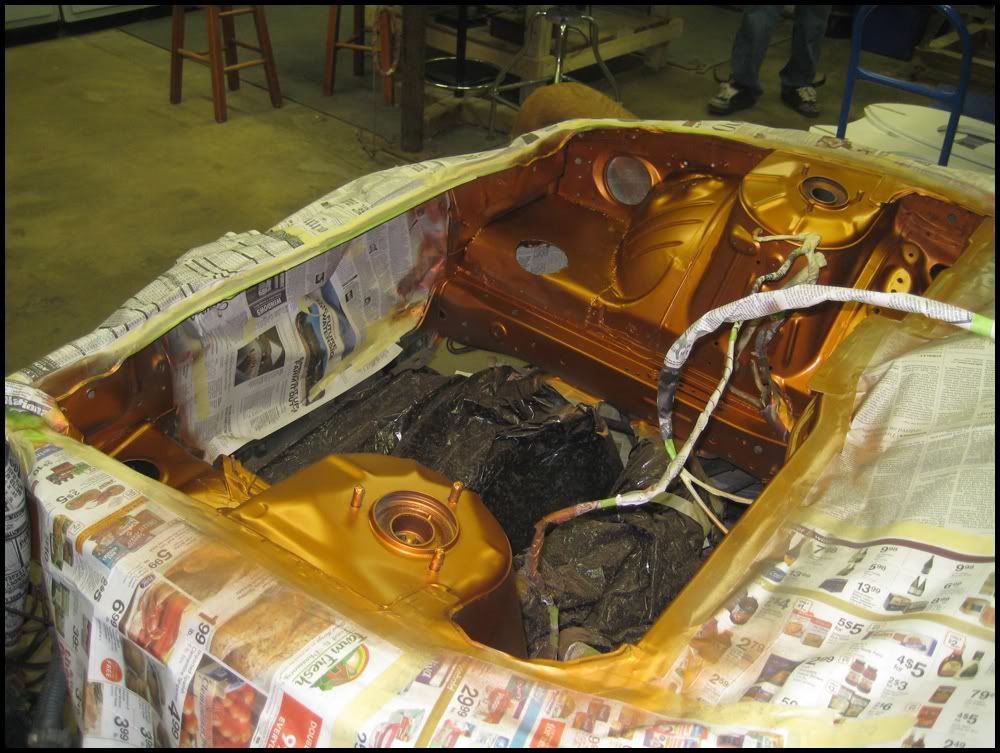
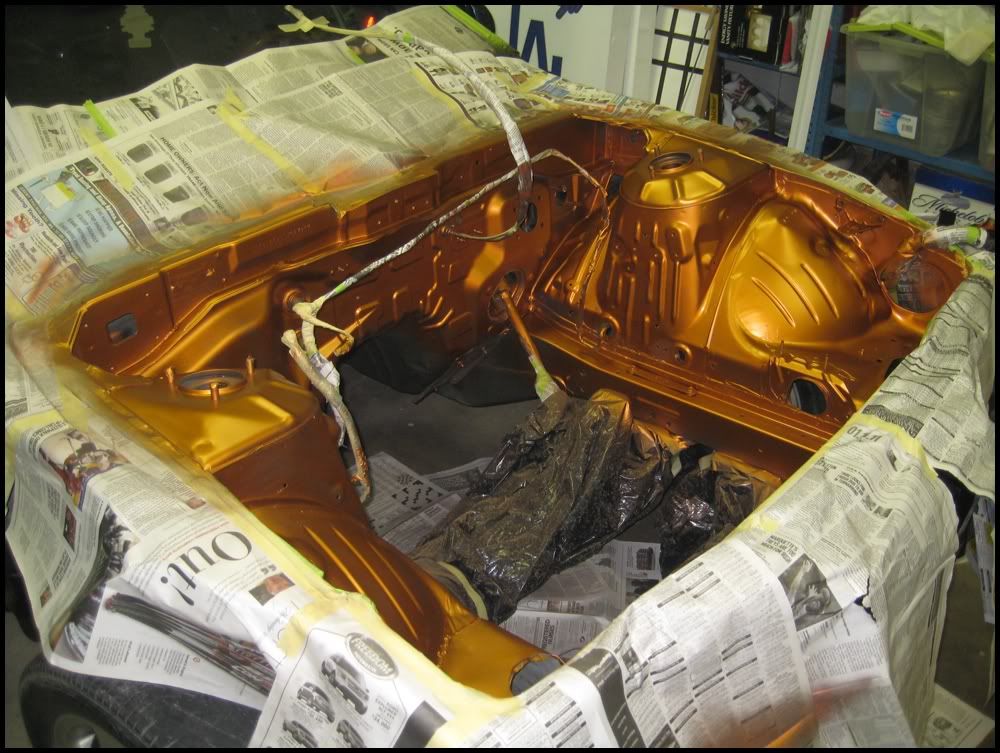
And now the fun part. I love the way the color turned out and i am super happy with the final product. I will probably head over there tonight or tomorrow and put everything back in the bay.
previously I had finished cleaning out the engine bay of everything (brake master cylinder, clutch master cylinder, fuse box, etc.....) and went ahead and painted the bumper support, headlight mounting bracket, the areas underneath the fenders, and the cowl. There was some surface rust here and there in those areas so they were prepped, cleaned, and painted with VHT epoxy black paint.
For the engine bay I used the following:
Supplies:
- VHT Copper metallic engine enamel paint x2
- Dupli color self etching primer
- 3m spray handle
I started with cleaning up any areas in the engine bay that had any surface rust with a wire wheel and/or scotchbrite and then the grueling process of taping began (fun fun).
Once everything was taped up/covered I scuffed the entire bay up, blew it clean, then wiped everything down with acetone. Then I threw down a coat of primer. I was really happy with how easily this covered and how quickly it dried.
And now the fun part. I love the way the color turned out and i am super happy with the final product. I will probably head over there tonight or tomorrow and put everything back in the bay.

